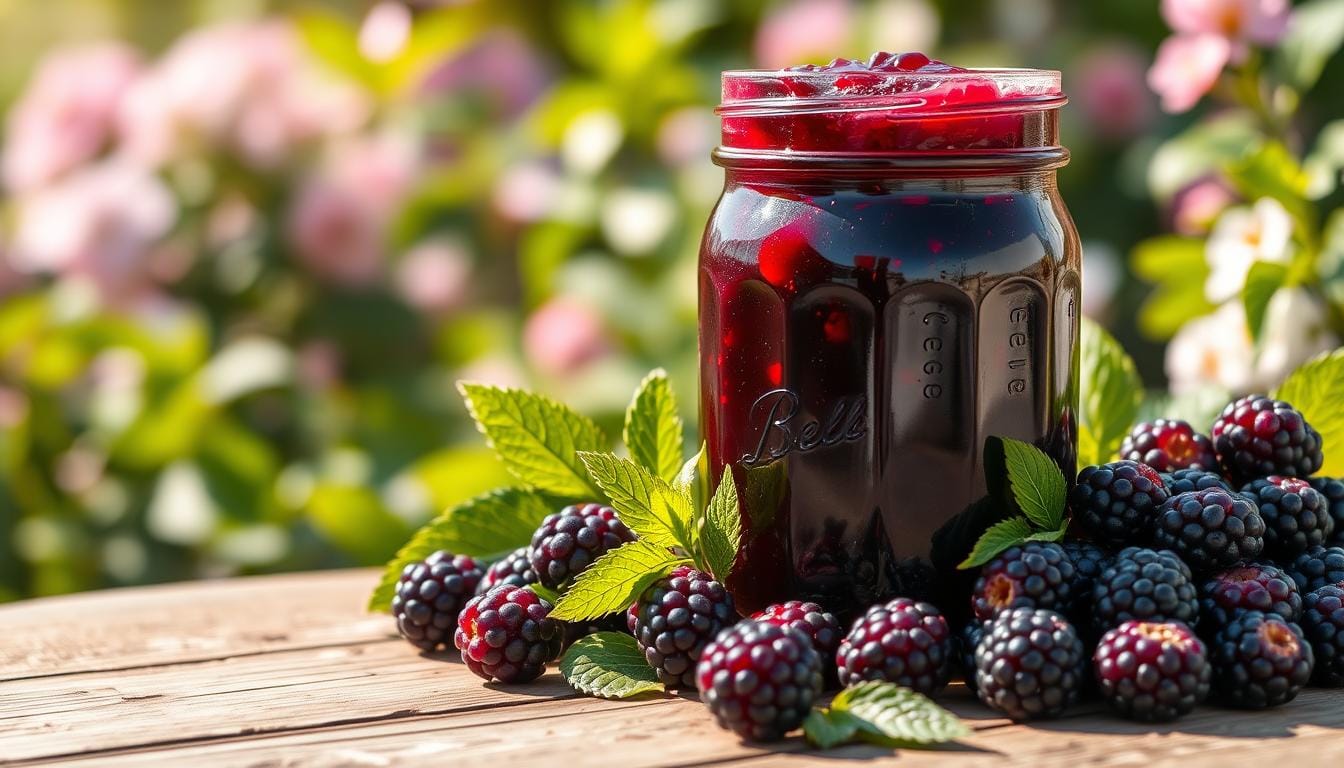
I love all things sweet and fruity, and homemade blackberry jelly brings back memories. It’s so comforting to spread it on toast or biscuits. The blackberries’ rich flavor, with just the right sweetness and tang, makes every bite a joy.
If you enjoy preserving nature’s bounty, you’ll love this recipe. Today, I’ll show you how to make homemade blackberry jelly with fresh or frozen berries. It’s perfect for both experienced jelly-makers and beginners, and it’s sure to become a favorite.
Table of Contents
The Joy of Making Homemade Blackberry Jelly
Making your own berry jelly at home is a rewarding experience. You can find blackberries in the wild or at your local farmers’ market. Turning these tart fruits into a sweet homemade preserve is a labor of love.
From Wild Picking to Kitchen Crafting
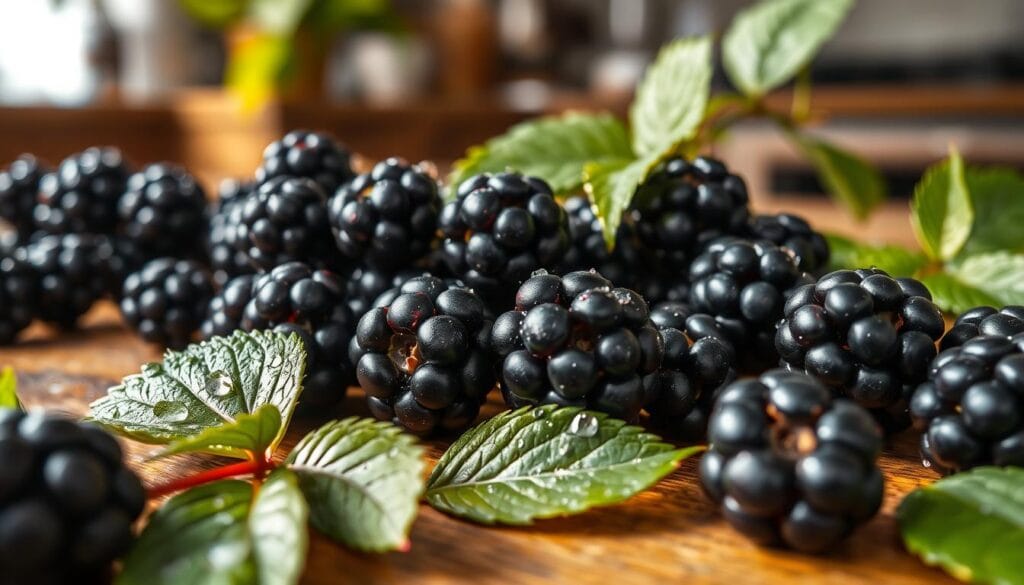
Foraging for blackberries is a fun family activity. It connects you to nature and the season of summer recipes. Picking the ripe berries from the vine shows you appreciate the ingredients in your homemade preserves.
Health Benefits of Homemade Preserves
Homemade preserves are healthier than store-bought ones. You can control the sugar and use fresh blackberries. This makes your berry jelly delicious and nutritious.
Blackberries are full of antioxidants, fiber, and vitamins. Your berry jelly is a wholesome treat for any time of the year.
Embracing jelly-making is a rewarding tradition. It lets you enjoy the flavors of the season all year. With a bit of time and care, your blackberries will become a vibrant, spreadable delight.
“The true secret of happiness lies in taking a genuine interest in all the details of daily life.” – William Morris
Essential Ingredients for Perfect Blackberry Jelly
Making homemade blackberry jam or canning recipes starts with picking the right ingredients. The main parts for making the best blackberry jelly are:
- Fresh or frozen blackberries
- Granulated sugar
- Lemon juice
- Pectin (optional)
For a 4-cup juice batch, you need 6 cups of sugar and 2 tablespoons of lemon juice. You can change the sugar amount to your liking. Use less sugar for a looser jam, but more for a firmer one.
| Ingredient | Quantity |
|---|---|
| Blackberries | 9 cups |
| Granulated Sugar | 5 cups |
| Lemon Juice | 3 tablespoons |
The recipe for homemade blackberry jam is simple. It needs blackberries, lemon juice, sugar, and pectin. This makes it easy for beginners to make jam in under 20 minutes.
“The long-term storage of homemade blackberry jam involves properly canning the jars using the hot water bath canning method, enabling the preserved jam to last for approximately 1.5 years when stored in a cool, dry, dark place.”
Required Equipment and Tools
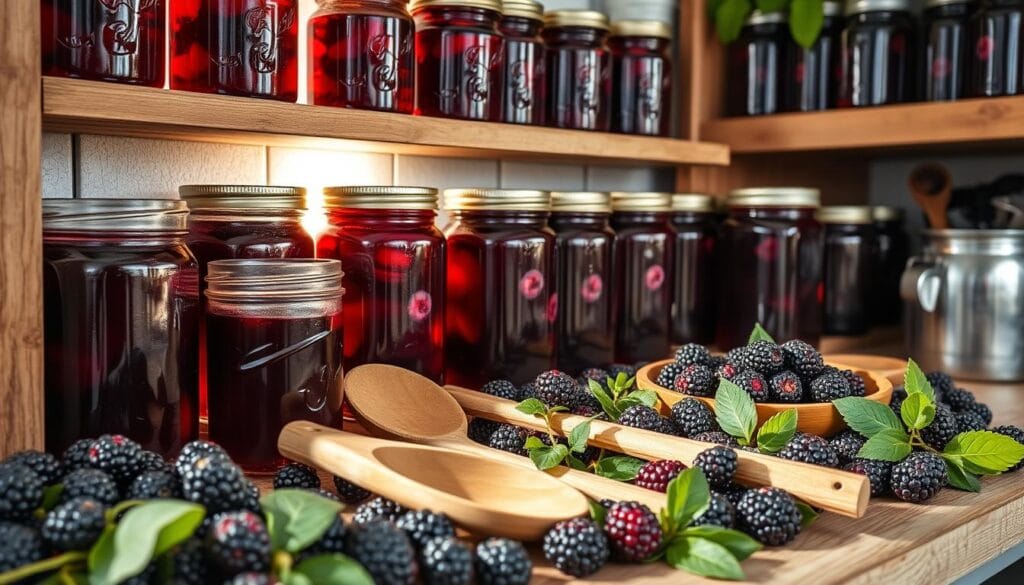
Making tasty jelly-making and following canning tips needs the right tools. You’ll need basic kitchen items and special canning gear. Having everything ready makes the jelly-making process easier and faster.
Kitchen Tools Checklist
- Large, heavy-bottomed pot or saucepan for cooking the jelly
- Potato masher or wooden spoon for mashing the berries
- Cheesecloth or fine mesh strainer for straining the berry juice
- Ladle for transferring the hot jelly into jars
- Funnel for easy jar filling
- Measuring cups and spoons for precise ingredient measurements
Canning Equipment Essentials
For canning tips, you’ll need:
- Water bath canner or large stockpot with a lid and rack for processing the sealed jars
- Canning jars with two-piece lids (flat lids and screw bands)
- Jar lifter for safely removing hot jars from the water bath
- Magnetic lid wand for easily placing the lids on the jars
Optional but Helpful Items
While not essential, these items can enhance your jelly-making experience:
- Candy thermometer for monitoring the temperature during the cooking process
- Canning funnel for neat and tidy jar filling
- Jar tongs or grippers for handling hot jars
- Label maker or stickers for labeling your homemade jelly jars
Having the right tools and equipment ensures a successful jelly-making and canning tips experience. With these essentials, you’ll make delicious homemade blackberry jelly. Enjoy it with your loved ones for months.
Preparing Your Blackberries for Jelly Making
As summer arrives, we find ourselves surrounded by ripe blackberry preserves. It’s the perfect time to pick these sweet berries and make homemade summer recipes like blackberry jelly. Before starting, it’s important to prepare the blackberries right.
Begin by washing the blackberries well to get rid of dirt, debris, and bugs. If you’re picking wild blackberries, make sure to clean them extra carefully. After washing, put the berries in a big pot with a cup of water. Use a potato masher or fork to mash the berries gently and release their juice.
Then, put the pot on the stove and cook the mashed berries over medium heat for 20 minutes. Stir them every now and then to avoid sticking. This step is key to getting the most juice out of the berries, which is essential for your jelly.
Remember, the secret to great blackberry jelly is in the berry preparation. By following these steps, you’ll have a rich, flavorful base for your jelly. It’s ready to be turned into a tasty homemade treat.
“Foraging for blackberries can yield free food for recipes like Seedless Blackberry Jam.”
Step-by-Step Blackberry Jelly Recipe
Making blackberry jelly from scratch is a fun kitchen project. Follow these easy steps to make your own blackberry jelly full of fresh taste.
Making the Juice Base
Begin by straining cooked blackberries through cheesecloth to get the juice. This juice is the base of your jelly. The recipe makes about 8 x 300 ml jars, using equal weights of blackberries and apples.
Adding Sugar and Pectin
In a big pot, mix the blackberry juice with granulated sugar. Use 450g of sugar for every 500 ml of juice. For a thicker jelly, add powdered pectin. A bit of butter can help prevent foaming.
Cooking and Setting Process
Heat the juice and sugar mix to a full boil, stirring often. Cooking takes about 2 hours and 10 minutes. Then, let it rest for 2 hours to set. Smaller batches might set faster.
Follow these steps to make a tasty blackberry jelly for your family. Success comes from attention to detail and adjusting as needed for the perfect set and taste.
Traditional vs. No-Pectin Methods
When making canning recipes like homemade blackberry jelly, you have two main choices. You can use the traditional method with pectin or the no-pectin method. Each has its own benefits and things to consider.
The traditional method uses commercial pectin to set the jelly fast, usually in 10 minutes. This quick process keeps the fruit’s bright flavor. But, some like the natural taste of no-pectin jelly. It cooks for 8-10 minutes, letting the fruit’s natural pectin thicken it.
| Method | Cooking Time | Flavor Profile | Pectin Usage |
|---|---|---|---|
| Traditional | 10 minutes | Bright, fresh fruit flavor | Commercial pectin added |
| No-Pectin | 8-10 minutes | More natural, concentrated fruit taste | Relies on natural pectin in fruit |
To check if no-pectin jelly is set, freeze a spoonful for a minute. If it’s gel-like, it’s ready. The no-pectin method needs more watching but gives a rich, natural fruit preserves taste.

“The no-pectin method may take a little more time, but the robust, pure taste of the blackberries really shines through.”
Choosing between traditional and no-pectin methods for blackberry jelly depends on your taste. Both ways make tasty jelly, so try them out to find your favorite.
Water Bath Canning Instructions
Canning your homemade blackberry preserves is a simple way to enjoy them all year. It’s important to follow the right water bath canning techniques. This ensures your canned goods are safe and of high quality.
Safety Guidelines
Before you start canning, follow some key safety tips:
- Make sure all jars, lids, and tools are clean and sterilized.
- Leave a 1/4-inch space at the top of each jar for sealing.
- Wipe the jar rims with a clean, damp cloth to remove any residue.
Processing Times
The processing time for water bath canning varies by jar size:
| Jar Size | Processing Time |
|---|---|
| Half-pint (8 oz) | 10 minutes |
| Pint (16 oz) | 15 minutes |
Adjust the time based on your altitude. Check a canning guide or local extension office for the right adjustments.
After processing, let the jars cool completely. Check the seals. Any jars that didn’t seal should be refrigerated and used within weeks.
By following these canning tips and homemade preserves guidelines, your blackberry jelly or jam will stay fresh for up to a year.
Storage Tips and Shelf Life
Proper storage is key to enjoying your homemade jelly for a long time. Canned correctly, your homemade jellies can last up to 18 months in a cool, dark place (50°F-70°F). Once opened, refrigerate the jelly and use it within 1-2 months for the best taste.
If you freeze your jelly, it can last up to 12 months. Use freezer-safe containers and leave space for expansion. Always check for mold, off-odors, or separation before enjoying.
For the longest shelf life and safety, follow proper canning techniques. Water bath canning is a simple method to keep your jelly fresh and safe. See the water bath canning instructions in the previous section for more details.
“Properly canned and stored jelly can be enjoyed for up to 18 months, while an opened jar should be consumed within 1-2 months for best quality.”
Whether you can, freeze, or refrigerate your jelly, proper storage is vital. It keeps the flavor, texture, and safety of your homemade treats. With a little care, you can enjoy summer flavors all year!

Troubleshooting Common Jelly Problems
Even with the best plans, jelly-making can sometimes go wrong. But, issues like runny jelly or crystallization can be fixed easily. Knowing the common problems helps you fix your blackberry preserves quickly.
Fixing Runny Jelly
Runny jelly might be due to overcooking the fruit or making too much at once. To fix it, just heat the mixture again and add more pectin. Make sure to follow the pectin package instructions for the right mix. With a bit more cooking, your jelly will be perfect.
Preventing Crystallization
Sugar crystals in jelly are not what you want. They often come from an incorrect sugar-to-juice ratio or overcooking. To prevent this, measure your ingredients carefully and avoid boiling too long. If crystals form, try heating the jelly and adding a bit of corn syrup. This should dissolve the crystals, making your jelly smooth and clear.

